It has been six months since I first got my Phlatprinter \\\. It is time for an independent review of the machine. The drive roller system still does not meet my expectations and numerous other issues abound.
I have broken down the areas of the machine in which I will report on separately.
X AXIS DRIVE ROLLERS
Let's start with the drive rollers themselves. I am on my third set of this design. The first set of course we know was a complete failure, but the second set should have corrected the design flaw, yet it was another failure as well. The end caps to which the pulleys attach was made of HDPE material which does not readily permit epoxy to adhere to it. My second set of rollers failed within 3 days of installation. That prompted a third set of rollers to be shipped which use an injection molded end cap that appears to address the issue. Since the drive belt has now failed and I am waiting for a new belt, I cannot even evaluate these rollers at this point in time.
X AXIS DRIVE BELT AND PULLEYS
The drive belt and pulleys chosen by Mark are a poor choice for the machine on numerous counts. These pulleys and belts were chosen because he had them in stock from the original MK1 and did not want to invest in another set of pulleys. While this would make sense from a cost standpoint, the design of the machine suffers as a result.
The 1/4" wide belt is insufficient to adequately drive the loads imposed by a two drive roller system of this nature. The belts stretch and they jump teeth when encountering excessive force applied against the rollers.
The grooves for the pulley are very shallow and the belt can easily jump a tooth when resistance is met rather than having the stepper motor stall.
The pulleys and belt are of the MXL series.
The pulley and belt choice causes the steps per unit setting in the controller to be about twice the value of the Y axis. This causes some problems with the USB CNC controller board that was chosen for this project.
A better choice would have been to use 3/8" width belts on the XL series of pulleys which have a .2" deep channel for the pulley teeth. This pulley and belt combination would have allowed the steps per unit setting to closely match that of the Y axis and would make it impossible for the belt to jump teeth.
X AXIS STEPPER
Again, Mark chose to use components in stock from the MK1 instead of picking the correct component for a new machine.
The X axis stepper motor is borderline too small for the application. A 266 ounce inch stepper would have ensured a better match for the requirements.
STEPPER MOTOR CONTROL BOARD
Here again, Mark had a sweetheart deal with a company in Mexico that makes inferior products. The stepper controllers fail frequently and have no current limiting circuitry. For the same money, one could have used a more modular system such as Probotic makes or for a few dollars more a top of the line Gecko controller could have made a much more stable product.
USB CONTROLLER
My experience with the USB Controller has been that it is still a beta product and not ready for production. While I have not used it for several months, it may be better now and I cannot attest to its current status. I reverted back to Mach 3 after encountering many issues with this controller even though I like many of its features.
SPINDLE
The supplied spindle and motor are absolutely junk! The spindles do not hold up under use and the motor generates electrical interference. The spindles come apart during operation. The motor only turns the spindle 15000 RPM which is inadequate for many CNC operations.
OVERALL CONSTRUCTION
The construction of the basic machine is excellent. The Y and Z axis performs flawlessly. The MDF parts fit together perfectly. Alignment is supurb. Access to all components is excellent. I rate this an A+.
SERVICE AFTER THE SALE
Support has been excellent. Mark has replaced all defective parts to date and tries to make good on his product.
Thursday, May 12, 2011
Thursday, February 10, 2011
New Vacuum Shoe for the Pony Router Attachment
I got tired of having to use two vacuums to keep up with the MDF dust so today I cutout a new vacuum shoe for the Bosch Pony Laminate Router Attachment.
It is held in place with magnets.

It is held in place with magnets.

Tuesday, February 8, 2011
Using Sharpie Markers to Draw a Two Sided Object


Tuesday, February 1, 2011
Built a Sharpie Attachment today
Cut out a Sharpie Attachment (posted on Phlatforum) from 1/4" MDF today.
Got 4 flange bushings and a 1/4" rod from Lowes.
Put the attachment together. Had to file down the rod and polish and fine sand the MDF mounting holes to line up better.
Put a piece of 1/64" ply over the top to capture the rods so I would not have to glue them in place.
Did not have anything to test with, so I spent the evening making up a Harley Davidson Logo to try out the attachment with tomorrow.
Saturday, January 29, 2011
Updating the Phlatprinter Screenset and Auto Tool Change
I purchased the 2010 screenset for Mach 3 because it has some nice auto tool change features I want to use.
I have some stuff I did in Meshcam that requires a tool change for finish and pencil cuts and I want to be able to accurately zero the the axis reference after changing tools. The 2010 screenset provides the ability to use home switches and a fixed plate and a moveable plate which are wired to the probe input of Mach 3.
The software routines then automatically move the gantry and recalculate the references by probing to the fixed and moveable plates.
I was disappointed to find that the Bosch Pony Laminate router does not have any place in which to electrically locate the bit. The bit seems to be isolated from all of the metal components on the router so I will have to use a ground wire with an alligator clip to clip onto the bit once the spindle stops for an M6 command.
The tool change routines will do their thing and then before I continue cutting, I will remove the alligator clip and restart the spindle.
Friday, January 28, 2011
EO Cub Maiden
Did the maiden flight this morning. Typical cub tendencies to tip stall. Needed to change the wing incidence just to be able to fly it at all. One degree incidence was too much. Flew better after lowering it back to zero.
Need to add a bit of down thrust to the motor and then try it again. Not sure I am going to like this plane much. We'll see...
Need to add a bit of down thrust to the motor and then try it again. Not sure I am going to like this plane much. We'll see...
Thursday, January 27, 2011
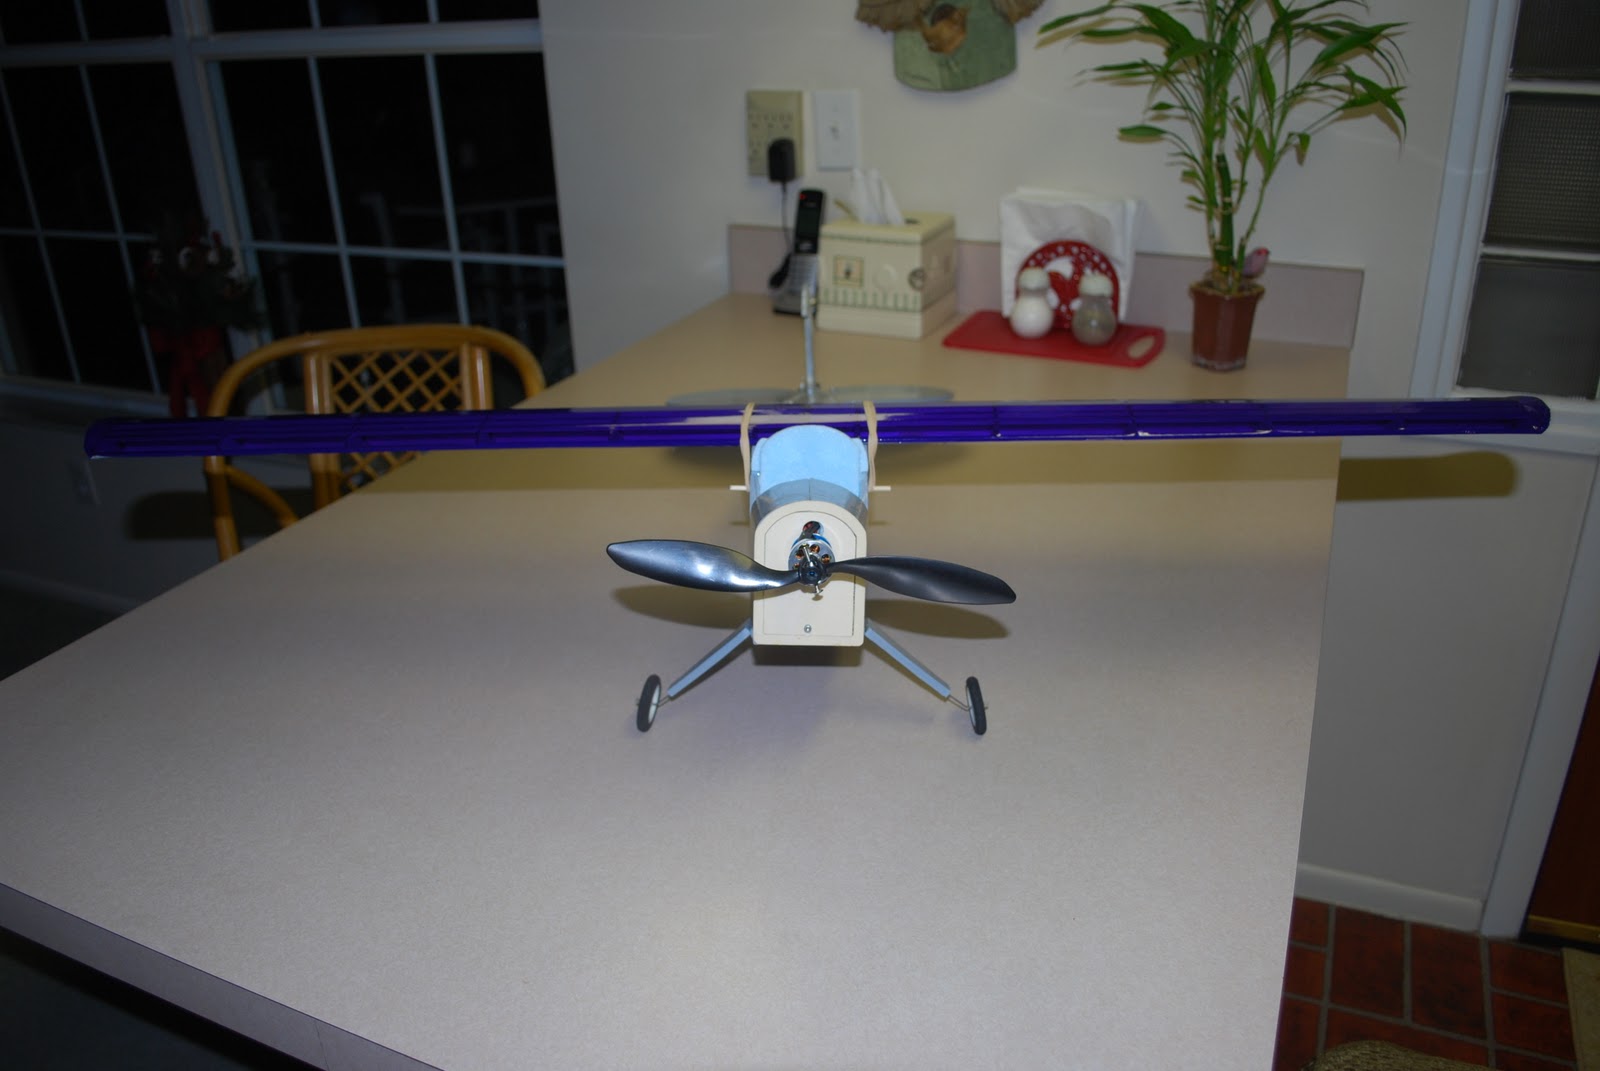
Ready for Maiden... EO-Cub
Still have a few things to add, windshield, cowl, lettering, etc.
But will add those after we see how she flys tomorrow.


But will add those after we see how she flys tomorrow.


Subscribe to:
Posts (Atom)